Cheese!
7:10 PM
I know, I know - I haven't posted in FOREVER. I am deeply sorry, I feel like I have lost so much time. The hubby and I were in my beloved California last weekend and have been spending our evenings outside enjoying the gorgeousness that is Colorado in the summer time. This leaves very little time for cooking or blogging for that matter.
However, I have been dying to share with you all photos from the cheese making class I attended at Generous Servings in Denver. The class was 3 hours and covered 5 fresh cheeses, discussed local and online resources for cheese making, and we cooked at the end to enjoy our freshly made cheese.
I know this must sound difficult, but I swear, it was incredibly easy. We made:
Quick Mozzarella
Whole Milk Ricotta
Fromage Blanc
Queso Blanco
Chevre
My favorite was the mozzarella - it was seriously some of the best mozzarella I have ever had.
Here are some general tips:
- Get GOOD WHOLE MILK THAT HAS NOT BEEN TOO PASTEURIZED
- Good brands include, Horizon, Organic Valley, Robinson's Dairy
- Make sure it doesn't say "ultra-pasteurized" or "UHT"
- Get a good thermometer, temperature is important
- Cheese cloth from the supermarket will not do, the cross-hatch is not small enough. It can be re-used so get some good stuff and just wash it after each use
- Ice in the bottom of your pot will help from scorching

The Queso Blanco was the easiest so I thought I would share that will you all to start.
FRESH QUESO BLANCO CHEESE RECIPE:
1 gallon milk
1/4 to 1/2c. vinegar (basic white)
Fill a large stainless steel pot with ice cubes and let sit for 2-3 minutes, then pour out the ice
Pour milk into pot. Heat the milk over moderate heat to 185F degrees. Do not stir if using ice cubes; if not, stir frequently to prevent scorching.
When the temperature reaches 185F degrees, stir in a little vinegar (about 1tbl.), keeping the pot over the heat. Continue adding a little vinegar at a time stirring very slowly and gently while the milk rises to 200F degrees. The milk will start to coagulate. Keep adding vinegar until the milk is completely curdled and you can see the separation of curds and whey (whey has a distinct yellow tint, you will know it when you see it).
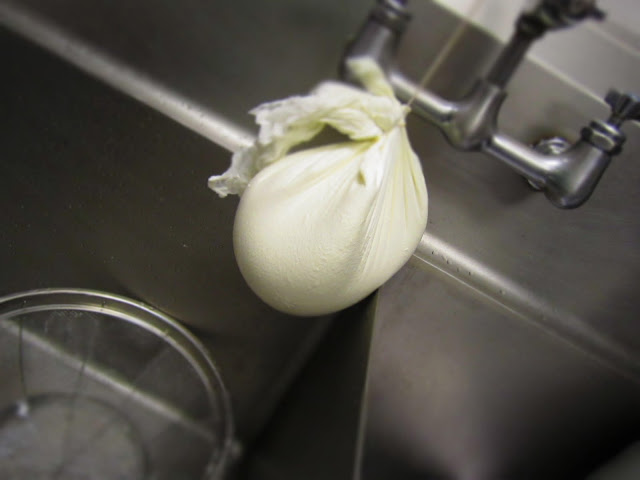
Pour the curds into a colander lined with butter muslin. Drain until dripping whey stops, about 1 hour.
When the draining stops, you may cut the curd into one inch cubes (or slices) and store them in a covered container in the refrigerator.


0 comments